
Below are two proofs from a KM73 plate using the above image on a transparency for exposure.
Each proof is wiped slightly different.
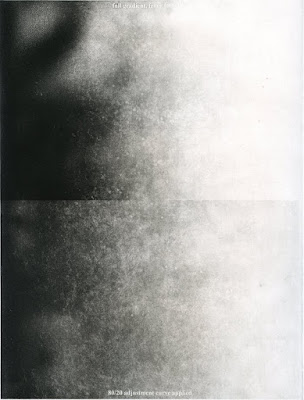
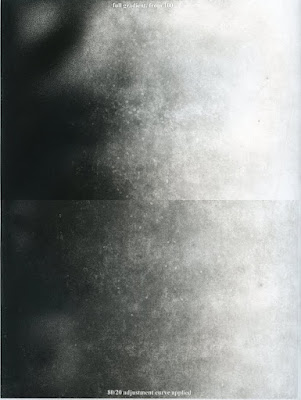
It gives me a good idea of where the values and information drop out completely, and how smooth a transition can be achieved. Using this twin scale, I have to figure out how to eliminate the white spots. There are two types. One set in which it seems that the black area washes out. I don't know if it's residual moisture left in the transparency or if there is some other gas that is not escaping. The individually scattered white dots are a bit of a mystery to me. I'll have to re-read Jon Lybrook's page on photo polymergravure again.
-----------------------------------------------------------------
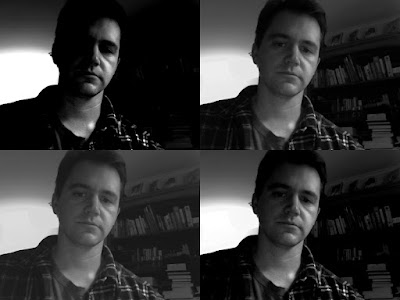
The image below is a curve test for the transparency: no adjustment to the image in the top-left spot; the 80/20 adjustment I've been using in the top-right spot, and some variations in the lower two spots.
I'm still a fan of the 80/20 curve, but it looks like the 85/15 curve would be useful for adding some contrast to very flat image that would be a bit different than just adding it in Photoshop.
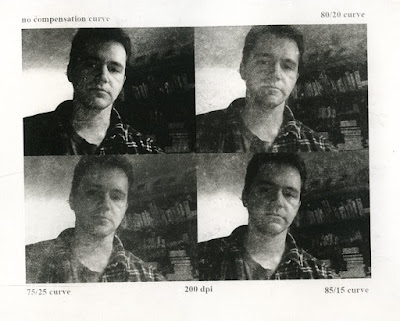
same plate. the only difference is the ink wiping strategy. It's more of a feel thing. I do this to see how I'll edition an image.
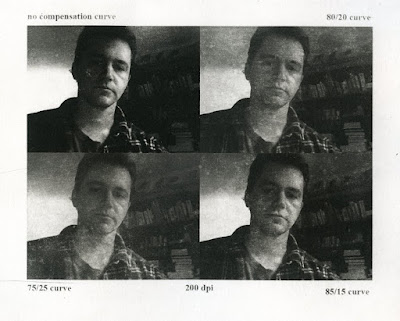
This is the file I used to make the transparency/positive for the plate above.

I used a simple 80/20 curve applied over the entire image to see if I could predict what the plate would do.
This is the result.
I'm surprised by the amount of information left in the top left image. That would tell me that the dropout is somewhat higher than 80% black, therefore I can pay attention to the shadows a bit more and see what details don't have to be sacrificed.
No comments:
Post a Comment